Steps to Create Focus Strips
In-progress Example
This section showcases the in-progress stage of aligning the textured stickers, cutting them to size, and preparing for the NFC sticker.
-
Remove Protective Covers
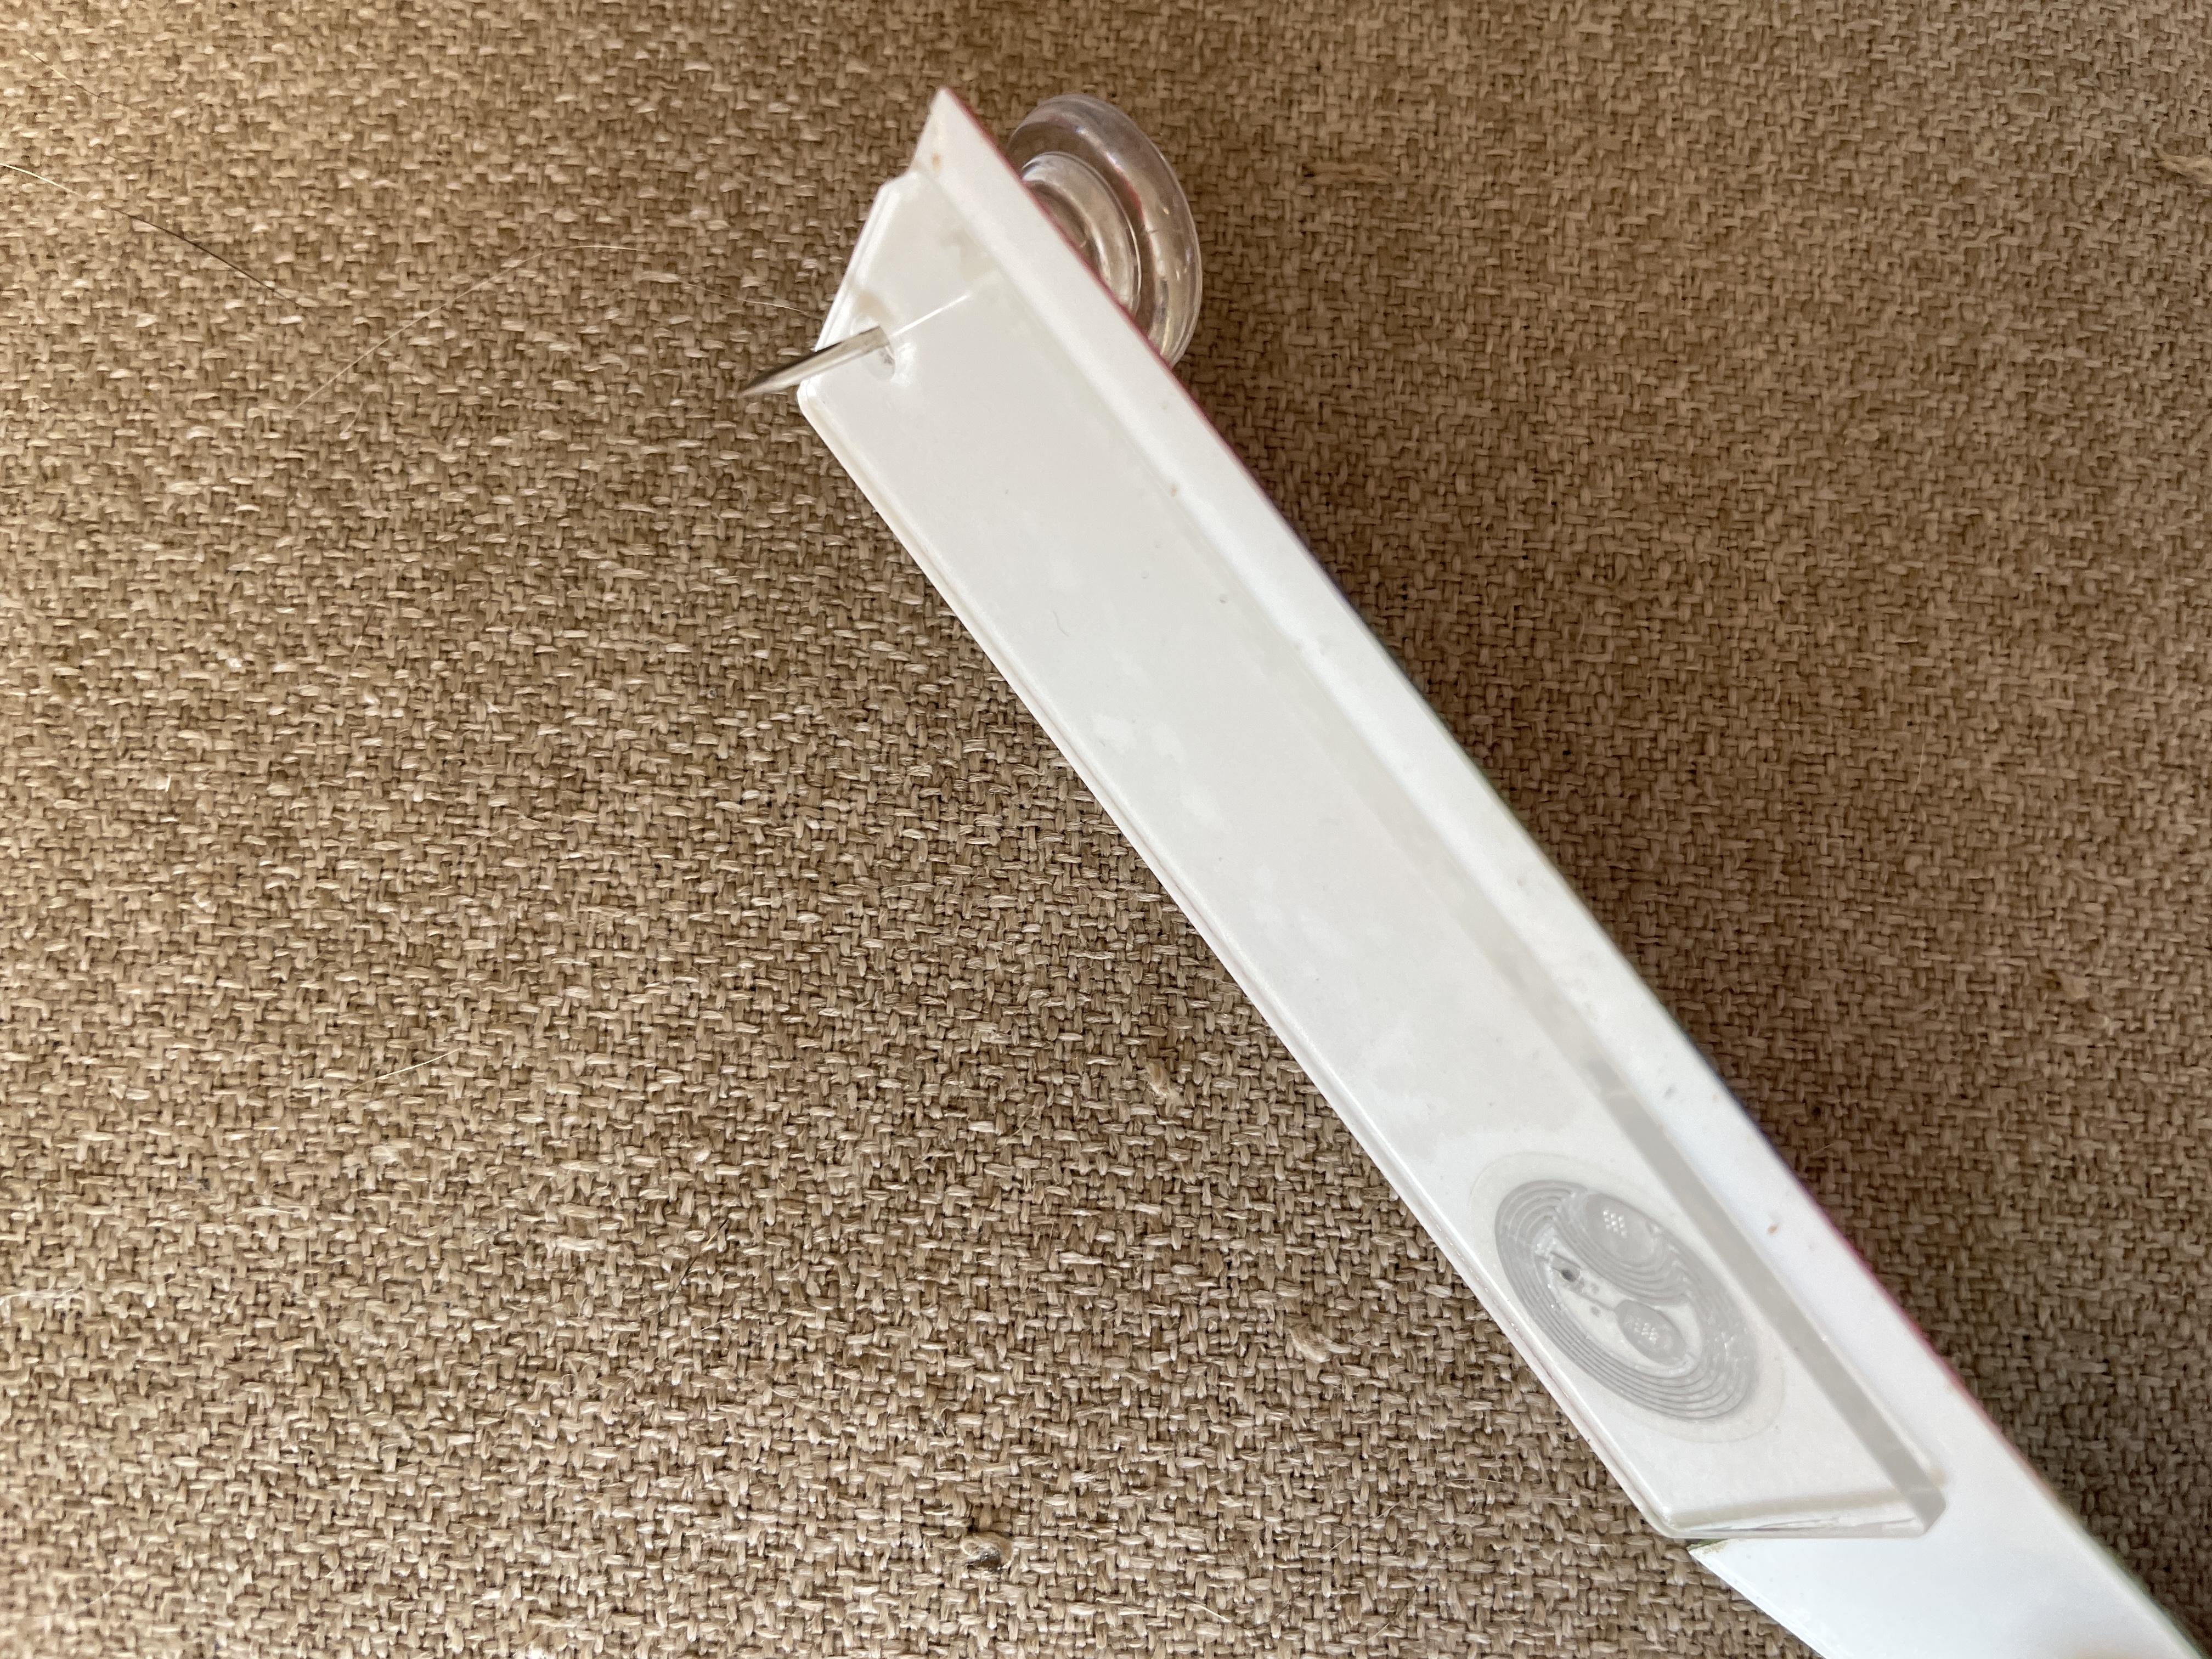
- Begin by removing the protective covering from both sides of the acrylic bookmark.
-
Align and Apply the Textured Stickers
- Align the first textured sticker on one side of the bookmark.
- Punch a hole through the sticker to align with the pre-punched hole on the bookmark.
- Trim the sticker to perfectly fit the bookmark.
-
Attach the NFC Sticker
- Before applying the second textured sticker, place an NFC sticker on the acrylic bookmark, ensuring it is centered and aligned.
-
Apply the Second Textured Sticker
- Apply the second textured sticker over the NFC sticker on the opposite side of the bookmark.
- Punch a hole through the sticker to match the bookmark hole.
- Trim the sticker to fit the bookmark.
-
Attach the Key Ring and Lobster Clasp
- Slip a small key ring through the pre-punched hole.
- Attach the Swivel Snap Hook with Key Rings and Metal Lanyard Keychain Hook (Lobster Clasp) to the key ring for easy attachment.
Final Product Example
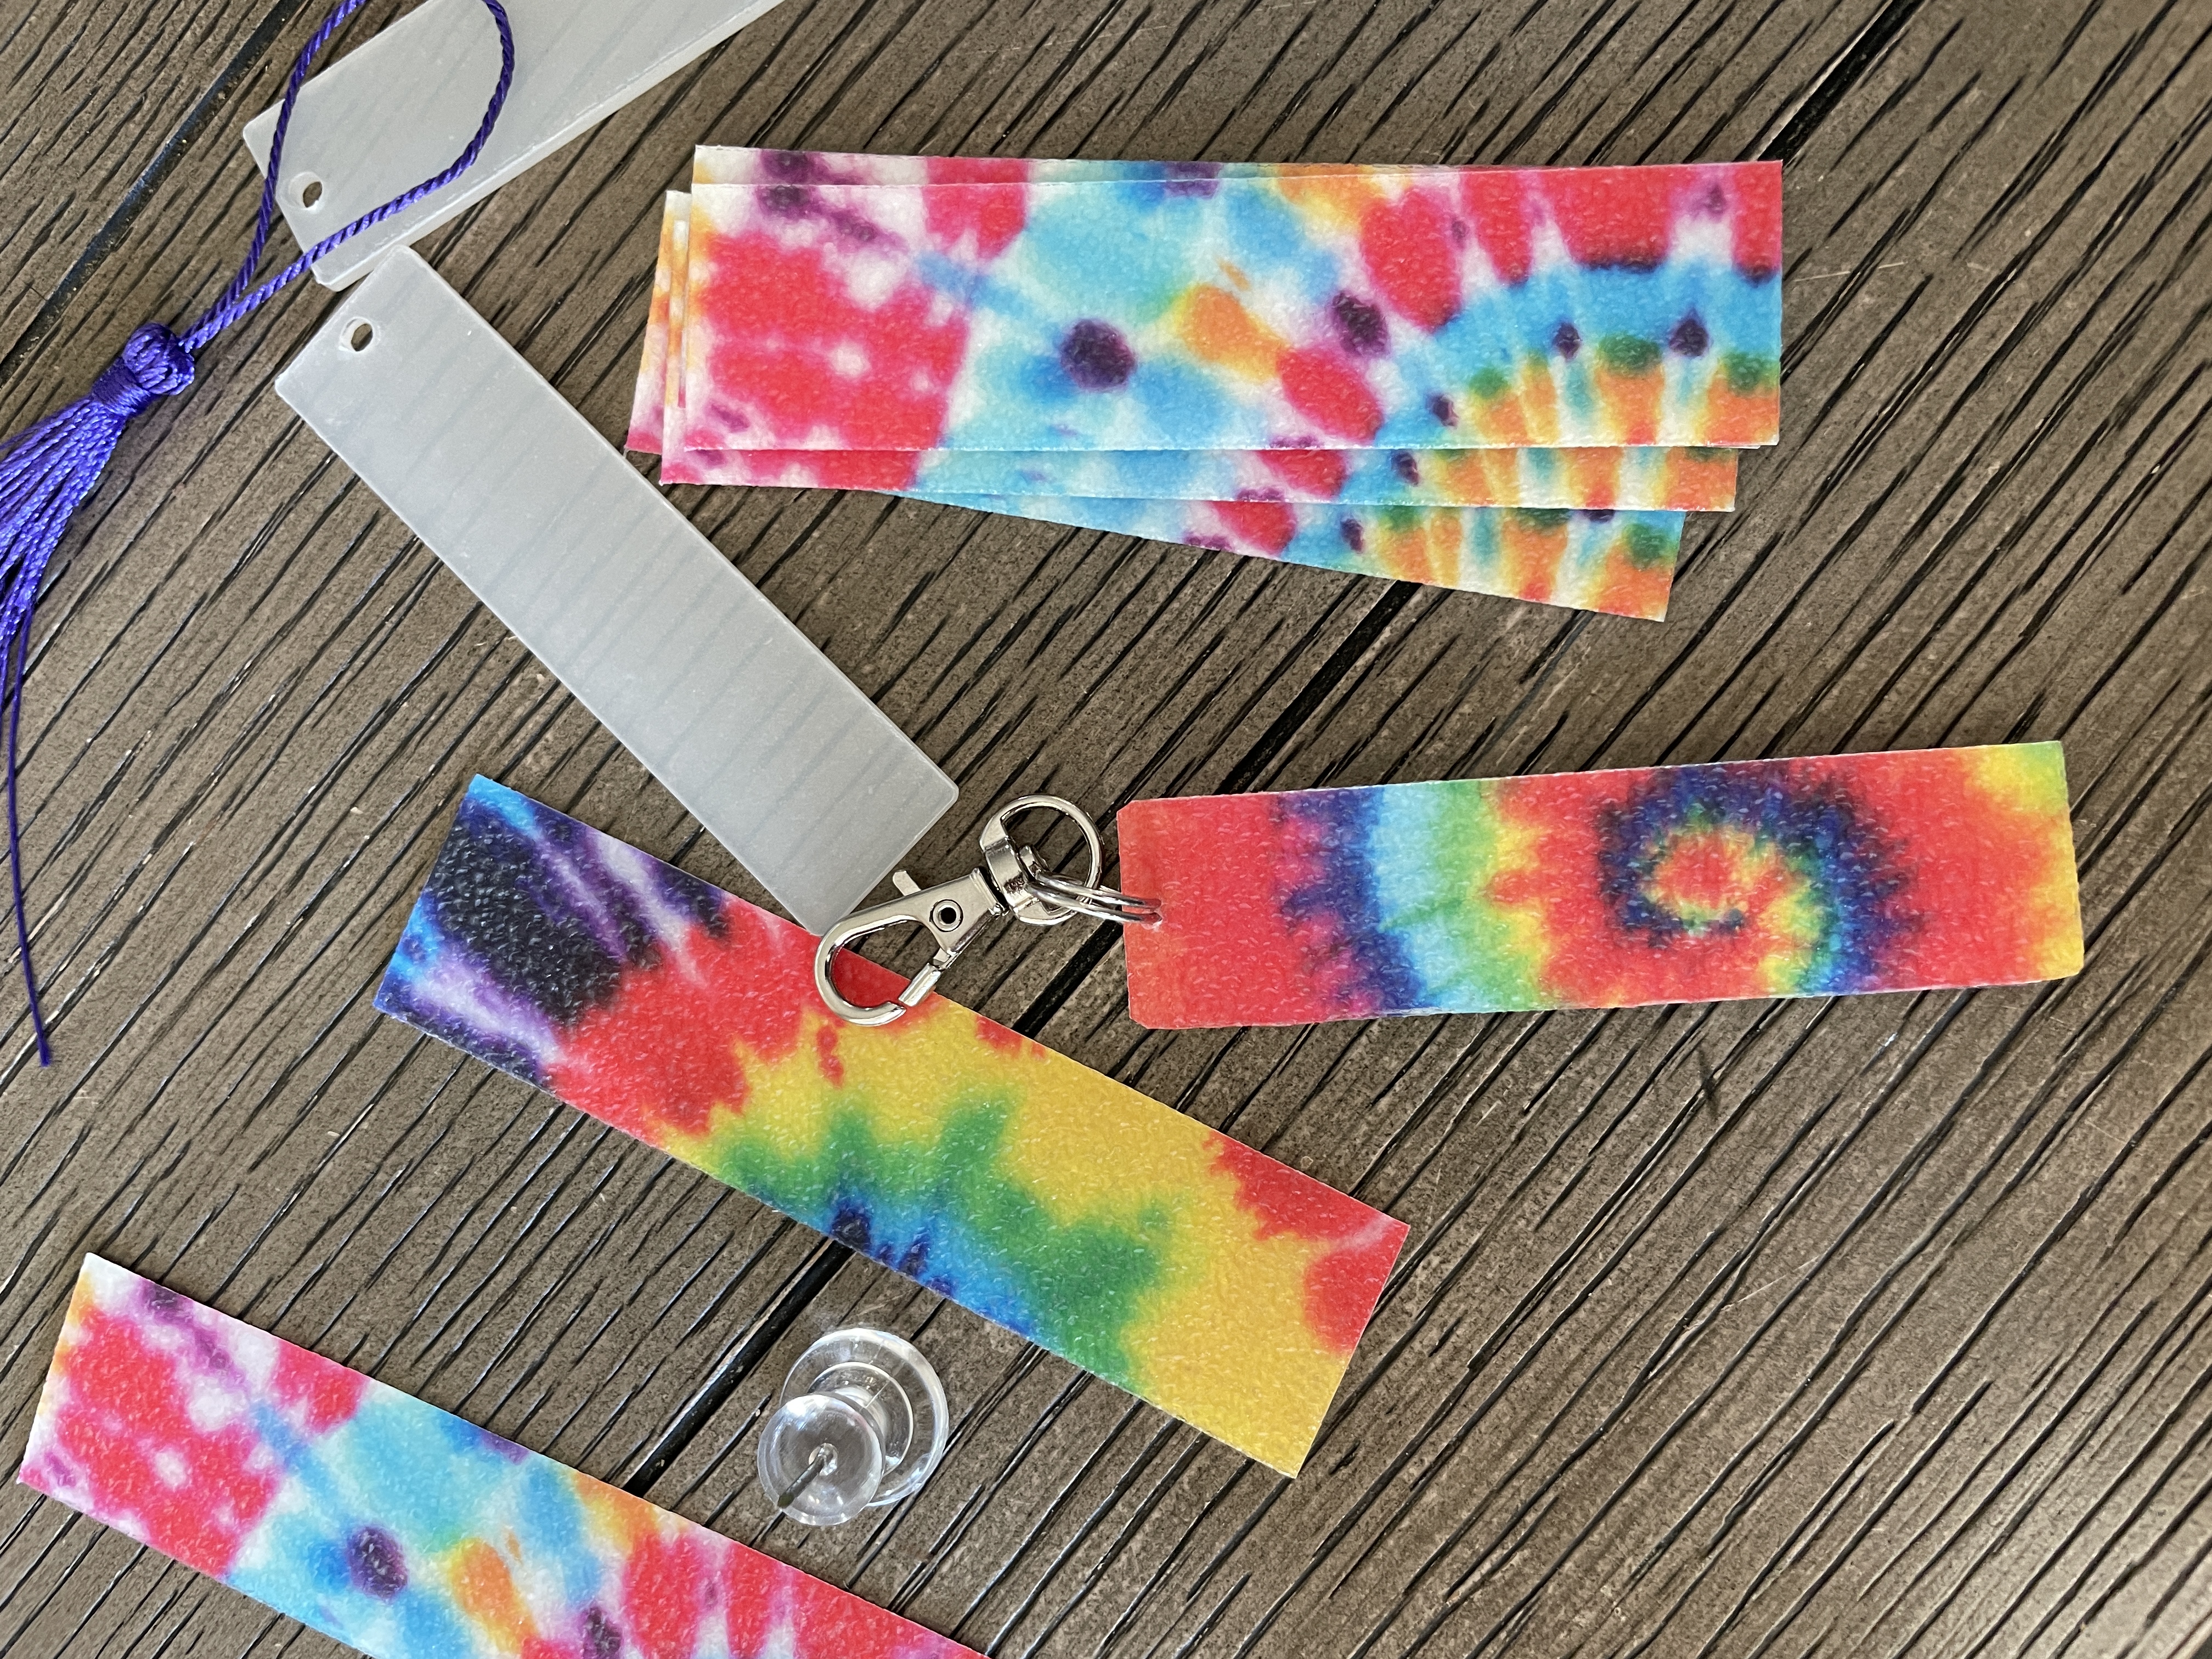
This is the final product image. Show off the completed Focus Strip with the NFC sticker embedded between the textured stickers and the key ring attached to the lobster clasp.